Well, usually, “The Beginning” tends to come after some trilogy, but, eh!, who cares !
I’ve been playing with Microchip PICs for quite a number of years, mostly with small-and-somehow-useless blink-a-led projects. Now, I’ve got a project I want to develop! I’ll explain the ultimate goal in the next tutorials, but today, I’ll focus on quite simple things, but which took me quite long because of the lack of doc, my low understanding of electronics, lack of time… etc…
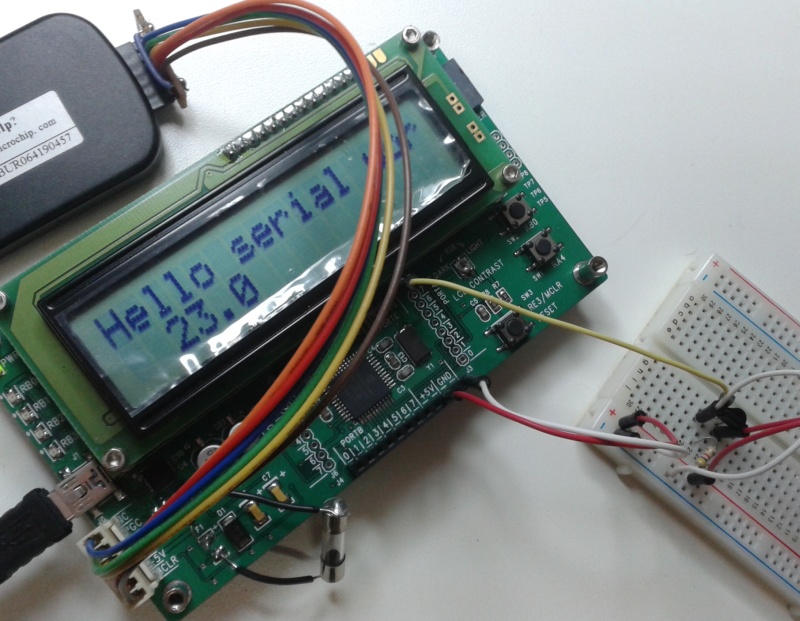
Part 1: Getting my Sure Electronics PIC DEM2 Demo board to read temperature data from a DS18B20, show it on the onboard LCD screen and send it on the serial connection.
The PIC DEM 2 board, also called DB-DP113, is a fully featured board, with a PIC 18F4520, an H44780 compatible 16×2 LCD and an USB port. Carefully reading the datasheet of the 4520, one will notice it doesn’t feature an USB connection. The board has a USB-UART converter on board. Sure provides some example code, but only in microC, so I started from scatch in JAL. JAL is a C-like language, close to Python or PHP. It all starts with some includes and configuration bits, then the actual code is very simple, thanks to the extensive JAL library. There is a lib for the LCD, for the DS18B20 (1-wire) and for the serial connection, isn’t it GREAT ?!
One tricky part is the configuration of the speed, the quartz (Xtal) is oscillating at 20MHz but for some reason, I had to declare the speed at 48MHz, and set the OSC parameter to HS_PLL. There must issues, but the whole works now (it seems that the LED is blinking too fast, while it should stay on for ~0.7 seconds).
const byte str1[] = "Hello serial world"   -- define a string
print_string(serial_hw_data, str1)  -- output string to serial
lcd_cursor_position(0,0)
print_string(lcd, str1)  -- output string to serial
-- inform user PIC is ready !
serial_hw_write("!")

-- let's build our loop
var byte char	-- will store received char
var word counter = 10
var byte str2[] = "                "
var byte cnt = 0

var sword temperature
var bit r

forever loop
  led = on
  ds18b20_convert() -- tell all ds18b20 devices to start conversion
  delay_1ms(700)
  led = off
  r = ds18b20_s_temp(temperature) -- read conversion result
  if (r) then
    -- success, so print temperature
    --format_sword_dec(serial_hw_data, temperature, 5, 1) -- print temperature in xx.x format
    lcd_cursor_position(1,0)
    format_sword_dec(lcd, temperature, 5, 1) -- print temperature in xx.x format
    format_sword_dec(serial_hw_data, temperature, 5, 1) -- print temperature in xx.x format
    print_string(serial_hw_data, "\n")
  end if


end loop
The current montage looks like that:
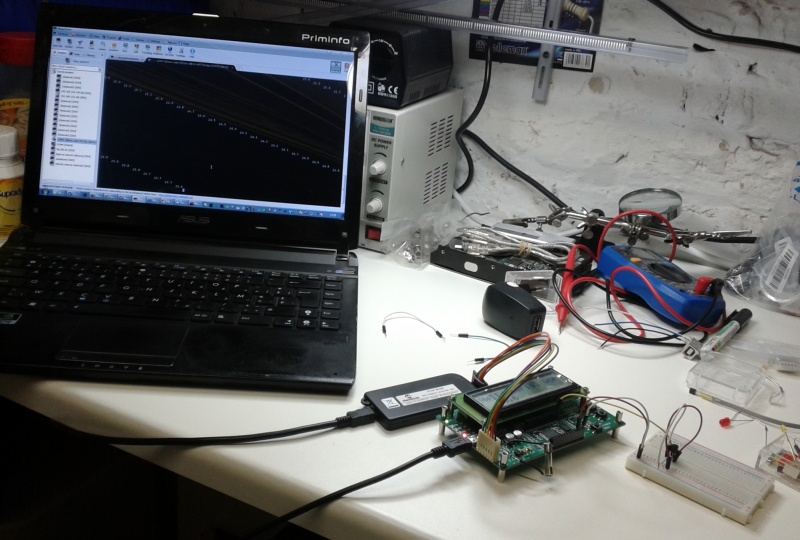

Note the presence of the PIC KIT 2 programming tool (the PIC DEM2 board has an ICSP connector)! The temperature is sent over the serial-usb cable and visible in the console open on my PC. It is also shown on the LCD.
Next steps:
- move this working code to a breadboarded PIC 18F4550 (adapt 4520 -> 4550 (USB, OSC))
- add more DS18B20 sensors on the 1-wire (handle unique IDs) and test cable lengths (>10m)
- connect an XBee to the PIC, stream over the XBee
- optimize the code/PIC sleep modes/idle to minimize power consumption
Stay tuned !
Hi Thomas,
I’m trying create a similar circuit: A light dimmer which can be controlled over Xbee. Currently I’m pulling the PIC out of the breadboard and into the programmer for every development cycle. You can imagine that I’ve done that maybe 100 times already. Actually I’d like to use the ICSP, however the PIC and XBee run on 3.3V. I’m afraid that the programming voltages will kill the XBee. Do you know a good way to make the development cycle (code alterations) a bit more developer-friendly?
Regards,
And good luck with your project.
Hi Marc,
From what I’ve read (here, for example), if you have an official PIC KIT 2, there should be no problem of doing it directly, as it switches automatically from 5V to 3.3V. However, if you have a clone (el-cheapo, others), then they might not be able to work at 3.3V. I’m going to breadboard my XBee module, so I’ll have to work at 3.3V too… I’ll let you know how it works. We could also think of some clever insulation/current limiting to the 3.3V modules, just to be sure… But that requires circuit re-design (might be worth the move)…
Do you have a weblog of this build ? I’m curious to see that light dimmer over Xbee !